Showing posts with label art/crafts. Show all posts

S is for Stripes

A silly, sick, and sort of sad book 
about a little girl who gets the stripes.

Followed up by a discussion of repeating patterns 
and paintings of our own stripes.


S is for Stripes!

B is for Bee!

What better way to learn about the letter B
then through exploring Bee's?!?

Here's a great link to read more about Bee's
with your preschooler creature feature bees.

Then have a blast dancing to this song . . .


In our class, after learning all about Bee's,
we turned letter B's into Bees


And did lots of singing and dancing to our letter B song:
(to the tune of Twinkle, Twinkle Little Star)

Busy, Beautiful, Buzzing Bee's
Letter B says /b/ /b/ /b/
Busy, Beautiful, Buzzing Bee's
Letter B says /b/ /b/ /b/.

And just because these kids are so cute, 
here's a peek at some of our center fun 
(love how they pose for the camera :) . . .


**{Parents, don't forget to send in your child's baby picture for Friday!}**

A is for Apples!

Here's a few peek of our apple discussion last week . . . 

We made a bar graph comparing the colors of apples brought in (red, yellow or green) . . . 
 Explored the inside of the apple 
and found the apple star full of seeds . . . 
We also compared (and tasted!)
 different kinds of apples, 
voted for our favorites and made a treat 
by mixing cinnamon and sugar in a bag with apple slices . . . yum!

 We had a lot of fun tearing up paper for our apple craft . . . 
(tearing something with your preschooler? Make it a little easier by cutting little slits in the paper first.  This helps little fingers be able to grip and pull the paper better). 

 Sprinkled cinnamon on the top to make our letter A's smell like pie . . . 
 The finished products . . . 

Our preschool classroom sure smelled
cinnamon-y delicious the rest of the day!

L is for Lots of Ladybugs

After introducing letter L, his sound, and one of Ms Tamra's silly chalkboard illustrations we practiced writing our own L's and l's. 

 Here's a simple tip:  Laminate blank name cards or even make your own using cardstalk. With wet erase markers (I like these SO much better than dry erase--clean up is a cinch!) your child can practice writing their name, letters, drawing shapes, writing words, etc.  Have some diaper wipes near-by for quick and easy wipe down and they are ready to go again!

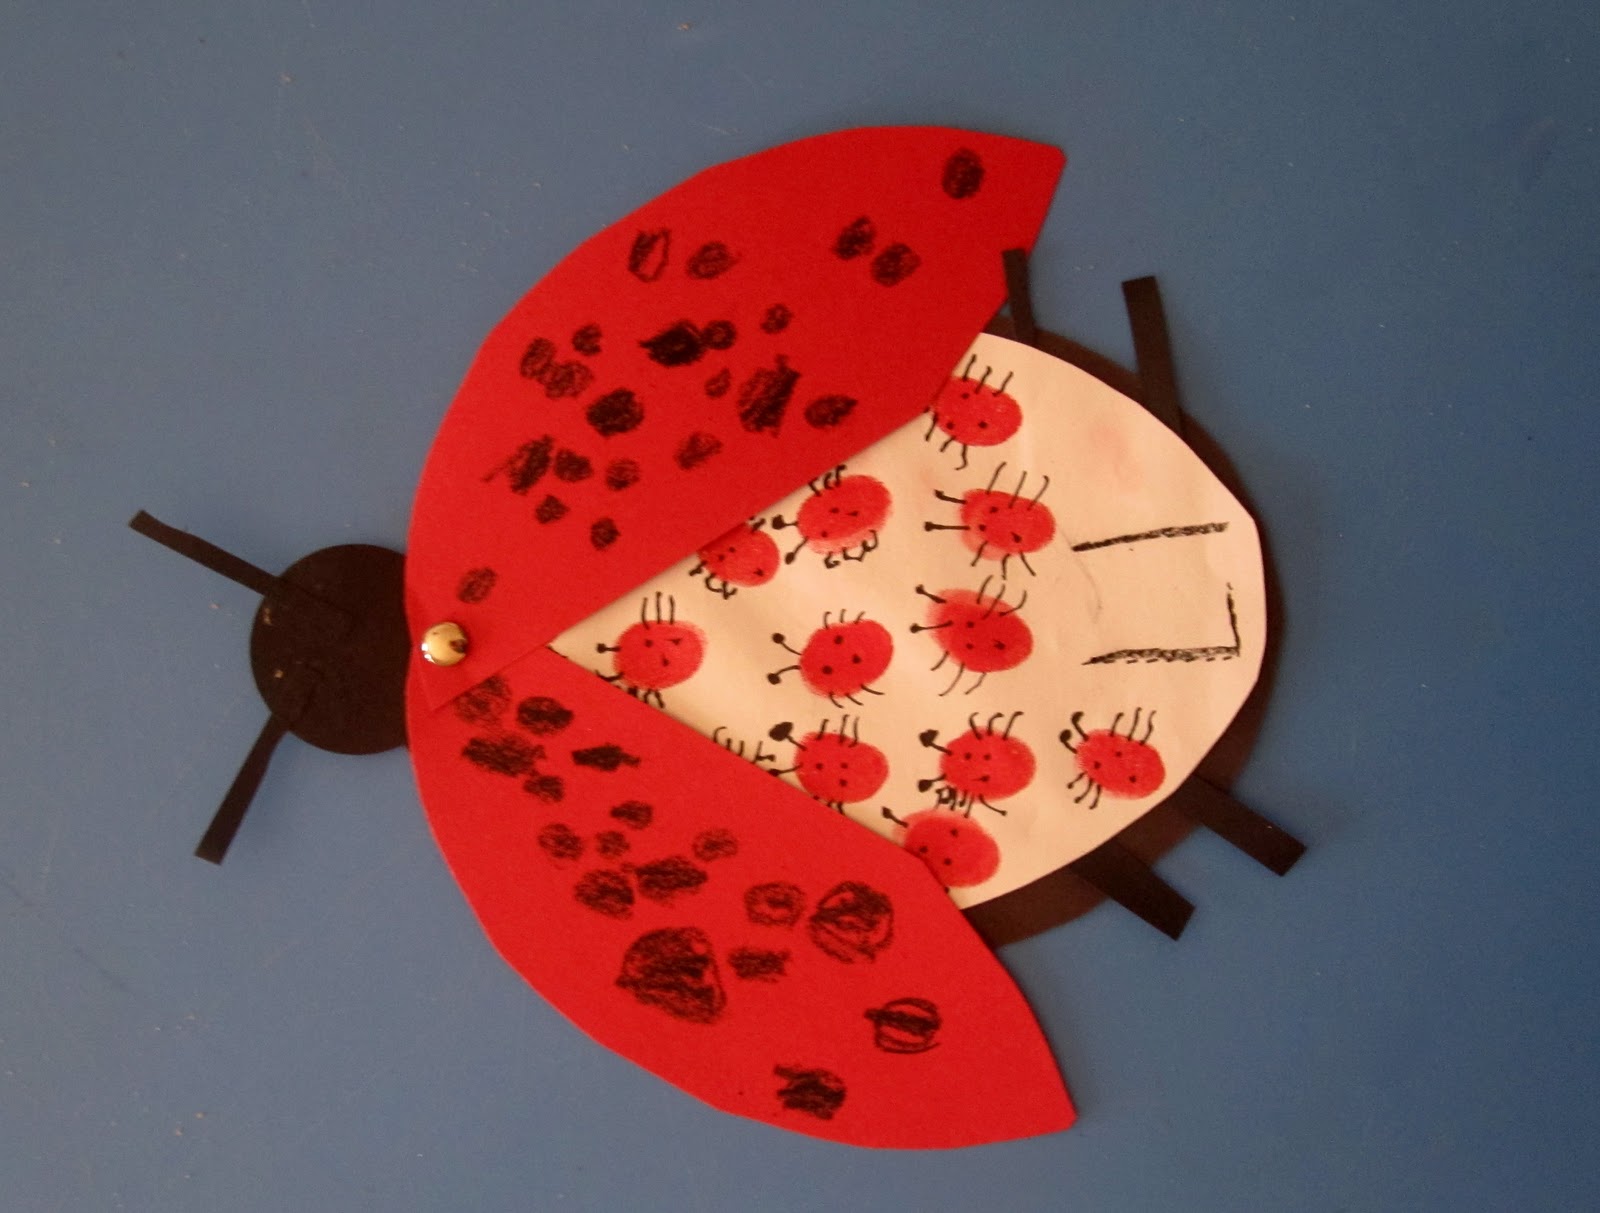
Our easy and super fun ladybug art project . . .
Open the wings to find
lots of little ladybugs!

We started out with white oval's with letter L's to trace, added red ink thumb prints, and used fine-tip sharpies to turn those into lady bugs.  We glued 3 black strips of paper to each side, a black circle head with more black paper scraps for antenna's then glued all of that on a black oval and attach wings with brad's. Black crayon spots on top completed our project.  The kids absolutely loved this one!

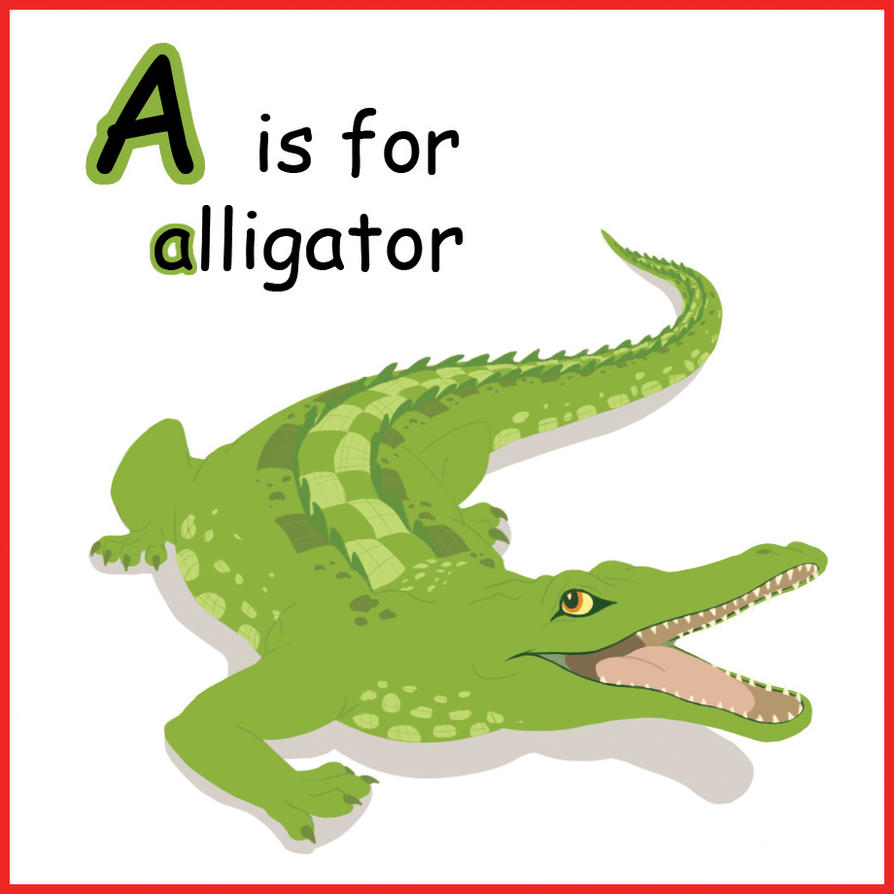
A is for Amazing Alligator


We learned all sorts of interesting facts about Alligators today!  Do you know that Alligators babies hatch from eggs and that the mother will carry the babies in her mouth?


We also made these fun alligator puppets.  

Want to make one too?  
Here's the links to the pieces that you'll glue to a brown lunch sack.


S is for SPIDERS!

It was a scary, spooky, spider-y world at preschool on Friday! 
We got in the mood by reading this book:
A super fun pop-up book . . . kids love it!

We learned all about spiders and watched a movie about the largest spider in the world: 
(BTW . . . that is an excellent site to explore animals with kids! Lots of great stuff!)

And we made our own spiders . . . from number 8's with 8 eyes and 8 legs!
 Glueing and attaching all those eyes and accordian folding the legs was great for our fine motor skills, and as one child told me, "This is fun Ms Tamra! You always do fun stuff with us!" Ahhh. . . melt my heart :).
 YIKES! My table is covered with drying spiders! These will be hung from the ceiling in our classroom for the spooky month of October.

Finally, here's a spider song:
(sing to "The Farmer in the Dell")

The spider spins a web
Round & round, up & down,
The spider spins a web.

She spins it in and out,
Round & round, up & down,
She spins it in and out.

She spins it back and forth,
Round & round, up & down,
She spins it in and out.

She spins it good and strong,
Round & round, up & down,
She spins it good and strong!

S is for SLIMY SPAGHETTI!

It's all about Spaghetti at preschool today!

We ate Spaghetti for snacks . . . what slimy, messy fun!


At the last minute, I decided to skip the sauce . . . good thing :)

And then made Spaghetti paintings! 

This was a really fun way to work those every important fine motor skills, experience new textures, and color mixing!

March Bulletin Board and Art

When I was taking down the bulletin board for March, it suddenly hit me that because of the way our space is set up, parents rarely get to see our displays.  

So--here's how we welcomed the month of March . . . 

Those are little packing peanut lambs (you know . . . March comes in like a lamb . . . )


and rainbows with a pot of gold.  


We made these by dipping toy cars in paint and then running them on the rainbow road.  
The kids had so much fun with it they didn't want to stop--so a lot of the rainbows ended up a muddy brown . . . but those kids sure had fun!


Y is for Yellow Yarn Yaks

This was a really fun art activity that the kids enjoyed . . . and all the Y words are a big bonus too!  Just say yellow yarn yak five times fast . . . you just might end up in giggles too!

I had the kids cut out a simple picture of a yak and then brush it with watered down elmer's glue.


Then they pressed pre-cut yellow yarn (I had yarn in various widths to pick from) in the glue . . . 


Anyway they wanted (this complicated weave pattern required more glue :) ) . . .


And added google eyes.  The final products . . . 


Gotta love the variety!

B is for Beautiful Butterflies


Here is a super simple way to make adorable butterflies . . .

Supplies:
  • Tissue paper cut into 6 inch squares (2 squares per butterfly)
  • Black pipe cleaner cut in half (1 half per butterfly)
  • Clothespins (I pre-labeled these with each child's name using a fine tip sharpie) (1 per butterfly)

The Simple Steps
  1. Take one square of tissue paper, hold in the middle and scrunch it up in the center.
  2. Have the clothespin "bite" the scrunched part of the tissue paper.
  3. Repeat steps 1 and 2 with the other piece of tissue paper.
  4. Have the clothespin bite the middle of the pipe cleaner.
  5. Wrap pipe cleaner around to the top and twist.
  6. Curl ends of pipe cleaner with fingers to create antenna.
  7. ENJOY!
We took turns hiding our butterflies outside and then letting the other butterflies try to find the hidden one.  The kids loved flying their little creatures all around the yard!

F is for Fish!

This was a really fun craft that the kids really got excited about and it was a nice change from the usual color and cutting activities.

Preparation: I made a copy of a page with 4 various fish for each child. With white crayon I then wrote their name on one fish and Ff on the other fish.  

Craft: Each child painted their page of fish with water color paint.  They were so excited to see the letters and their name magically appear as they painted!  In fact, some little painters were so excited about the magic letters that after the paint dried, they painted over it again and, much to their disappointment, the magic letters disappeared.  I'll have to watch more carefully for that next time!  After the paint dried, I cut these out and put them aside for later.

Later in the day they used blue and green finger paint to make an ocean.  I encouraged them to fill the page completely. 


Then, while the paint was still wet, they placed their previously painted fish in the ocean.  The wet paint acted like glue to hold the fish on. 


Ta-Da! An ocean Full of Funny F Fish!

Horrible Hair letter H!

I got this coloring page of Mr. H from Miss Morgan over at Brillant Beginnings Preschool.  The kids colored it as an arrival activity then later on during our centers, after we'd talked about letter H and done some H activities,  we added some HORRIBLE HAIR with yarn and leftover scraps from our scrapbox.  The kids kept laughing at their creations . . . for obvious reasons . . .


Handprint Turkey's

This fun Thanksgiving preschool craft turned out really cute and the kids had a lot of fun making it.

1) I put a little paint in a variety of colors on a plate. Each color got it's own paintbrush.
2) I painted each child's hand like this . . .
3. Then I had them make a hand print on a piece of white paper.


4. I let the kids glue these on any color of cardstock card that they wanted. I then added Turkey details to their handprint.

Inside the cards, the kids pasted the invitation to the "Thank You" feast they are putting on for their parents.

These really did turn out cute.  So cute, in fact, I had my own kids make some to send to their Grandma with a note that said, Happy Thanksgiving from your Little Turkey's. An easy, but fun preschool thanksgiving craft!


O is for Octopus


 We really enjoyed making this Octopus craft!


1) Child is given a blue paper with the Letter Oo on it. 

2) Child puts hand on ink pad


3) Then carefully places hand on paper. 

4) He then repeats the process, but rotates hand slightly to create more legs. If desire, he can use four fingers (no thumb) to make an octopus with eight legs.   


5) Next, he cuts or tears out pieces of paper (for plants at bottom of sea).


6) Glue these on paper.


7) Add details with black marker.  Ta-Da! An Octopus!!